Canning Venison: The Complete Homestead Hunter's Guide to Meat Preservation
Pressure canning turns even the toughest cuts of a mature buck into fork-tender, shelf-stable meals. Learn the rigidly safe, step-by-step process for preserving your harvest in mason jars.
For successful hunters managing multiple deer tags in a prolific season, deep-freezer space quickly becomes a serious, frustrating bottleneck.
To solve this, many hunters at Wildsnap are aggressively reviving the lost “Homestead” tradition of Pressure Canning their meat. Unlike deep freezing—which fundamentally leads to crystalline cellular breakdown, moisture loss, and inevitable freezer burn after 12 to 14 months—canned venison is completely shelf-stable in a dark pantry for 2 to 3 years.
Even more importantly, the extreme heat and pressure of the canning process aggressively breaks down the tough connective tissues found in the shoulders and shanks of an old, rutted-out buck. The result is incredibly convenient, fork-tender meat surrounded by its own rich, savory broth—making it the ultimate “fast food” for instant chili, stews, tacos, and sandwiches.
1. The Raw-Pack Methodology
There are two primary ways to can meat: hot-packing (partially cooking the meat first) and raw-packing. We highly recommend the Raw-Pack method for venison because it is faster, significantly cleaner, and yields maximum natural flavor retention.
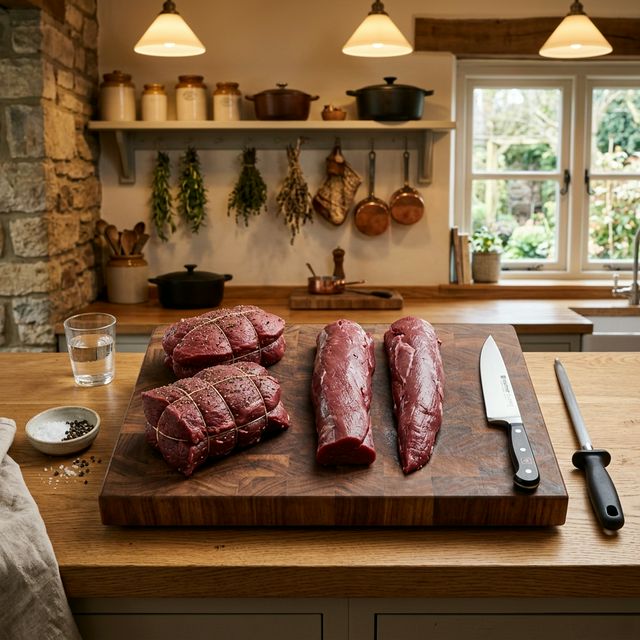
Meticulous Trimming
The first step is critical. You must meticulously trim the meat before it goes into the jar.
- Removing Fat and Silver-skin: Cube the raw venison hams and shoulders into uniform, 1-inch squares. You absolutely must trim away every possible ounce of white fat, silver-skin, and bone fragments. Unlike beef fat, venison fat turns highly rancid and bitter when rendered in a jar, completely ruining the flavor profile of the entire batch over time.
Packing the Jars
- The Headspace: Pack the raw meat tightly into clean, sterilized wide-mouth mason jars. You must leave exactly 1 inch of “headspace” (the empty gap between the top of the meat and the rim of the glass jar). This space is biologically necessary to allow for a vacuum seal to form as the jar cools.
- Adding Salt: If desired, add half a teaspoon of canning salt to pint jars or a full teaspoon to quart jars.
- No Liquids Needed: Do not add water, broth, or oil to a raw-pack jar. As the venison processes under pressure, it will completely render its own concentrated, dark gold broth, perfectly filling the jar with natural liquid.
2. Technical Pressure Canning Rules
This is not a weekend project where you can cut corners. You cannot “water-bath” can meat. Venison is classified as a low-acid food. Submerging jars in boiling water (212°F) is completely incapable of killing deadly bacterial spores hidden deep inside the meat.
- The Equipment: You absolutely must use a dedicated, heavily gasketed stovetop Pressure Canner equipped with a dial gauge or a weighted jiggler.
- PSI and Altitude: To kill spores, the core of the jar must reach 240°F. You achieve this by pressurizing the canner to 10 to 15 PSI, heavily dependent on your local altitude above sea level. You must consult your specific canner’s manual to adjust the PSI based on your zip code.
- The Unbreakable Time-Lock: You must process pint-sized jars for exactly 75 uninterrupted minutes and quart-sized jars for exactly 90 uninterrupted minutes at pressure. If your pressure drops below the required PSI at minute 73, you must restart the 75-minute timer from zero. This is the only scientifically proven way to ensure the thermal core of the glass jar reaches the sterilization threshold.
CRITICAL SAFETY: Botulism Prevention
Improperly canned, low-acid foods (like venison, green beans, and fish) are the primary source of Clostridium botulinum poisoning (Botulism) in home-preserved goods. This bacteria strongly thrives in the anaerobic (oxygen-free), room-temperature environment of a sealed mason jar.
- Lethal Consequences: Botulism toxin is tasteless, odorless, and completely invisible, yet incredibly deadly. Attempting to water-bath can venison is a lethal gamble.
- The 12-Hour Check: After processing, let the jars cool completely undisturbed on a towel for 12 to 24 hours. The metal lids must “pop” downward, indicating a successful vacuum seal. If you press the center of a lid and it flexes up and down, the jar failed to seal.
- Action for Failed Seals: Never store an unsealed jar in a pantry. If a jar fails to seal, place it immediately in the refrigerator and cook/consume the meat within 3 days, or re-process it entirely with a brand new lid.
Frequently Asked Questions (FAQ)
Can I throw a whole roast into a large jar instead of cubing it? No. The USDA-tested processing times (75/90 minutes) are strictly calculated based on the thermal penetration rate of 1-inch cubed meat. Placing a solid, 3-pound chunk of meat into a jar drastically changes how heat penetrates to the core, risking under-processing and bacterial survival in the center of the roast.
Do I need to cook the meat again when I open the jar a year later? The venison is completely, fully cooked during the 75-minute pressure canning process. You can literally eat it cold with a fork directly out of the jar. However, most people prefer to dump the meat and its savory broth into a saucepan to heat it through for stews or serve it over mashed potatoes.
Can I reuse the two-piece metal canning lids next year? You can infinitely reuse the threaded metal bands (the screw-on rings) and the glass jars, assuming they aren’t chipped. However, you absolutely cannot reuse the flat metal lids with the rubber seal. The rubber gasket compresses permanently during processing; a used lid will almost certainly fail to hold a vacuum seal a second time.
Mastering meat preservation is the final, definitive mark of a capable, responsible hunter. Seeing a neat, organized row of beautifully canned venison glowing in the pantry is the ultimate homestead security for the long off-season.