
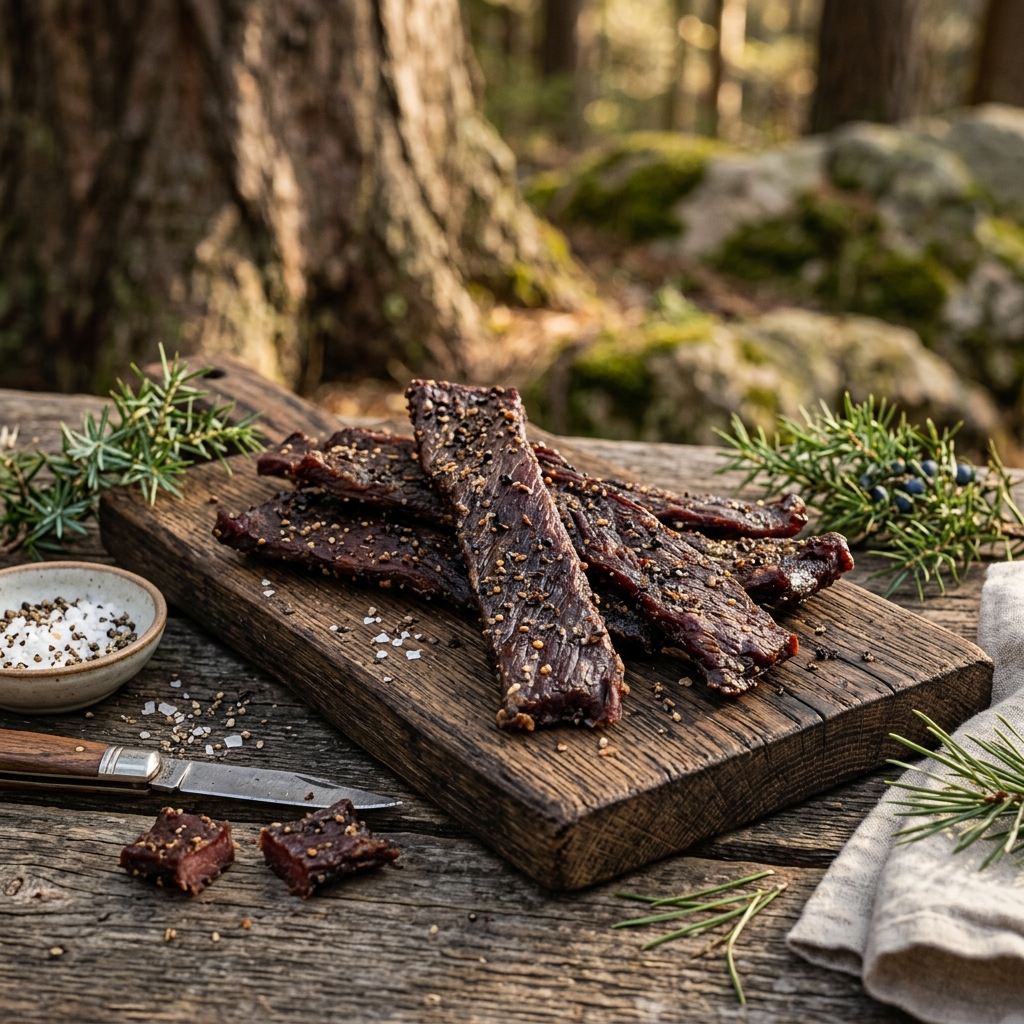
Preserving the Harvest: The Ultimate Science of Venison Jerky
Safer homemade venison jerky: slice against the grain, use curing salt, hit 160°F, dehydrate evenly, and turn tough roasts into pack-ready protein.
Few snacks beat homemade venison jerky on a cold walk to the stand. Tough, lean roasts from the hindquarter—bottom round, eye of round, sirloin tip—become high-protein, shelf-stable fuel when you control slice, salt, cure, and moisture.
Gas-station jerky cannot match meat you harvested and processed yourself. The craft is part butchery, part food safety.
Choose the Right Cuts
Jerky loves lean muscle with little connective chaos.
Best candidates:
- Eye of round
- Bottom round
- Top round (well trimmed)
- Sirloin tip
Trim all visible fat. Venison fat goes rancid and shortens shelf life. Save fatty trim for other recipes; jerky wants clean lean.
If you are breaking down a deer for the first time, DIY venison processing covers the larger butchery context. Long-term pantry preservation beyond jerky pairs with canning venison.
Slice Against the Grain
Marinade will not save a bad cut path. Tenderness starts with grain orientation.
- Identify the long muscle fibers on the roast
- Slice perpendicular (across) the fibers for easier chewing
- Aim for even thickness—about 1/8 inch for most dehydrator jerky
- For chewier “strip” jerky, some hunters slice with the grain intentionally—know which texture you want
Semi-freeze hack: chill the roast 90–120 minutes until firm but not rock solid. Floppy warm meat fights the knife and yields uneven pieces that dry at different rates.
A sharp slicing knife or calibrated meat slicer earns its keep here.
Why Curing Salt Matters
Many internet recipes skip cure. For low-and-slow dehydrator jerky, Prague Powder #1 (curing salt with sodium nitrite) is the conservative safety choice.
What cure does:
- Helps inhibit Clostridium botulinum risk in warm, humid drying environments
- Protects color (deep red/mahogany instead of gray-brown oxidation)
- Supports longer room-temp storage when combined with proper dryness
Measure precisely per manufacturer and tested recipe ratios—more is not safer. Keep cure away from kids and never confuse it with table salt.
Marinade Basics That Actually Work
A functional marinade balances salt, sweet, acid, and flavor without turning meat to mush.
Common framework per 5 pounds trimmed venison (adjust to tested recipes):
- Soy or Worcestershire for salt/umami
- Brown sugar or honey for balance
- Black pepper, garlic, smoked paprika, or cayenne to taste
- Measured curing salt as specified
- Optional liquid smoke sparingly
Marinate in the refrigerator 8–24 hours in a non-reactive container or sealed bag. Drain well before drying so trays do not steam.
Hit a True Kill Temperature
Home dehydrators often run near 140°F—great for drying, not always for rapid pathogen kill. Wild game can carry E. coli, Salmonella, and other risks.
USDA guidance for jerky safety centers on bringing meat to 160°F internal temperature. Practical methods hunters use:
- Oven-heat strips on a rack at ~275°F until 160°F before dehydrating
- Or simmer/boil strips briefly in marinade, then dry (texture tradeoffs apply)
Use a calibrated thermometer. Color is not a temperature guarantee.
Dehydrating to the Right Finish
After the kill step, dry until jerky cracks but does not snap clean like a cracker—typically 4–8+ hours depending on thickness, humidity, and machine.
Done checks:
- No cool soft spots in the thickest piece
- Surfaces dry to the touch
- Bend test shows fissures without crumbling to dust
Pat off beads of oil. Cool fully before packing so condensation does not rewet the batch.
Storage, Shelf Life, and Pack Use
Storage options:
| Method | Typical use window | Notes |
|---|---|---|
| Airtight jar in fridge | Weeks | Simple everyday storage |
| Vacuum seal + fridge/freezer | Months | Best quality retention |
| Room temp (fully dried + cured) | Shorter; watch humidity | Use oxygen absorbers cautiously and tested methods |
Label date and cure status. When in doubt, freeze. In the field, keep jerky in a zip bag inside the pack—away from fuel bottles and open scent sources if you are scent-aware walking into a sit.
Troubleshooting Common Jerky Failures
- Shoe leather: sliced with the grain or over-dried
- Greasy / rancid later: fat not trimmed
- Case-hardened (wet inside): heat too high too fast or pieces too thick
- Bland: under-salted marinade or too short soak
- White powder on surface: can be dried salt—or spoilage mold; when unsure, discard
Make a small test batch before committing an entire buck’s rounds.
Flavor Profiles Worth Mastering
Once safety and texture are solid, build two or three house recipes you repeat every season:
- Classic pepper: black pepper, garlic, soy, brown sugar
- Teriyaki-leaning: ginger, garlic, soy, light honey (watch sticky drying)
- Spicy southwest: chile powder, cumin, cayenne, lime zest
Write exact grams in a notebook. “A splash of this” is how batches diverge and arguments start at camp. Sweet marinades brown faster—watch dehydrator time so sugar does not scorch before the interior finishes.
For more ways to use the rest of the deer after jerky roasts are spoken for, browse ultimate venison recipes and keep grind separate from your jerky muscle.
Ground Jerky and Jerky Guns
Ground venison jerky is beginner-friendly for uniform sticks:
- Use lean grind (90%+ lean) mixed with measured cure
- Chill the mixture for easier extrusion
- Extrude even strips onto dehydrator racks
- Follow the same 160°F kill-step guidance from a tested recipe
Texture differs from whole-muscle jerky—more like a snack stick. Many families keep both styles: sliced for tradition, ground for kids and quick packing. Food safety standards do not relax because the meat is ground; they get stricter about mixing cure evenly.
Field-to-Kitchen Timing
Jerky quality starts before the marinade.
- Cool the carcass quickly after harvest
- Keep roasts refrigerated and clean
- Trim silver skin that blocks marinade penetration
- Do not leave raw sliced meat in warm kitchens during long prep
If you are days behind on processing, prioritize cooling and freezing roasts, then make jerky from thawed, still-cold meat on a planned kitchen day. Rushing warm meat onto racks invites both texture and safety problems. Pair processing speed discipline with meat spoilage limits guidance when weather is warm.
Packaging for Hunts and Gifts
Once jerky passes the bend test and cools:
- Portion into weekly hunt-sized bags so you are not opening a giant jar in damp weather
- Vacuum-seal gift packs with a harvest year label
- Keep a “camp jar” in the fridge for quick grabs
- Freeze long-term surplus rather than gambling on warm pantry months
Jerky is also a teaching tool for new hunters—sharing meat builds culture better than mounting pressure. If you mentor youth, a shared batch from “their” deer closes the loop between woods and table. Keep recipes simple enough that a teenager can help slice and season under supervision.
Dehydrator vs. Oven vs. Smoker
All three can work with tested methods:
- Dehydrator: even airflow, easy batch control, watch the pre-heat kill step
- Oven: use racks and prop the door for airflow; monitor hot spots
- Smoker: flavor upside, temperature discipline required so you dry safely without undercooking
Pick one system and master it before buying more gadgets. Consistency beats novelty when food safety is on the line. Extension-service jerky publications from your state university are worth printing and keeping in the kitchen binder next to cure instructions.
When friends ask for the recipe, hand them the measured version—not a vibe. Food safety and consistent texture both depend on repeatable numbers. A kitchen scale, a notebook, and one mastered method will outperform a cabinet full of untested marinades every opening weekend.
Frequently Asked Questions
Do I have to use curing salt? For traditional low-temp dehydrator jerky, it is strongly recommended. Some oven-hot methods differ—follow a tested extension-service recipe.
How thin should I slice? About 1/8 inch keeps drying even for most beginners.
Can I use ground venison? Yes—with a jerky gun and recipes designed for ground meat and cure. Food safety still applies.
Why preheat to 160°F? To kill pathogens before or during the drying process per food-safety guidance for jerky.
Which roast makes the best jerky? Eye of round and bottom round are favorites for clean grain and low fat.
How long will homemade jerky keep? Vacuum-sealed and refrigerated batches keep quality for weeks to months; freeze surplus. Room-temp storage needs full dryness, cure, and cautious humidity control.
Jerky is respect for the harvest in snackable form. Slice smart, cure carefully, hit temp, and fuel the next hunt with meat you processed yourself. A measured recipe you can repeat every season beats a dozen experimental marinades that never get written down.